

We made the cutest advent calendars this week in class.
We started with the 17th and went to the 25th since this was the date they were taking them home.
And it would have been too much to cut out 25 openings

This is my quick sample.
First draw a simple line drawing on the iPad,
then save it to photos and import it in for a second picture.

On the first one draw the numbers on the flaps you want and color in the whole page.
This is your top page.
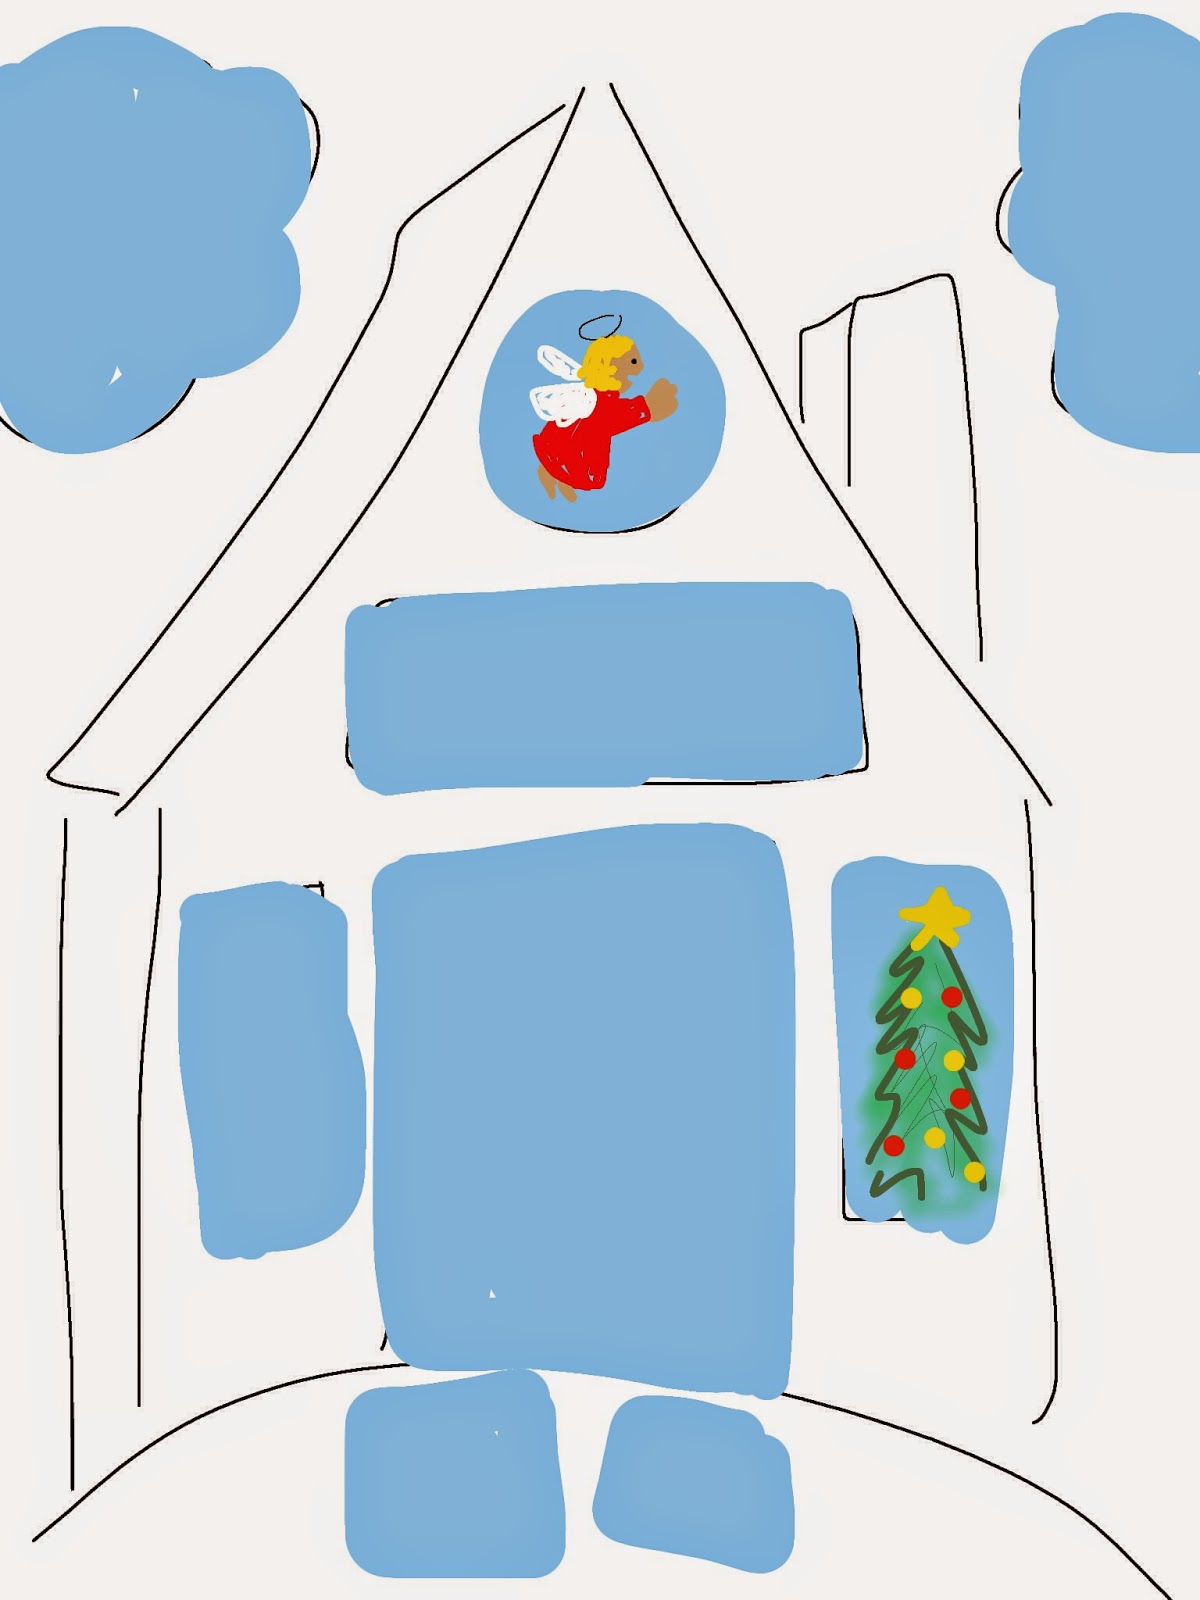
On the second page color in only where your doors will open.
Then decorate these openings with advent images.

Here is an example of images I photographed and imported.

Then print out both pages on an 8 1/2 x 11" paper.

Cut apart, cut open doors,
then glue both together,
and watch your kids smile.

This trimester in Wednesday's iPad art class
we are doing projects that involve printing and cutting
so I am scurrying to come up with new ideas
and it is trial and error to see what works.
This one worked beautifully.
And of course you do not need a iPad - colored pencils and markers will work too.
Need a project for your kids between now and Christmas,
just do it.
I love this! I love the little windows. I created two advent calendars but mine were made with little pockets to place the messages. The kids must love to open and close the windows :-) Thanks for sharing!
ReplyDelete